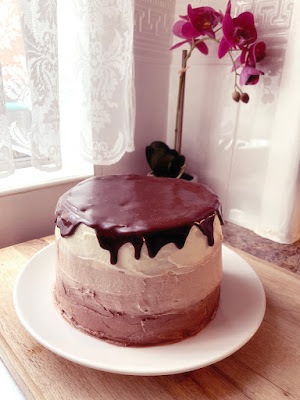
I found this Gluten Free Chocolate Coconut Cake recipe in the July issue of the Woollies magazine. The cake in the original recipe is chocolate but I thought that was overkill so removed the cocoa and added vanilla essence and a little extra flour.
The original recipe is called a Coconut Rough Cake which was not gluten free and I found the amount of ingredients asked for in the recipe were exaggerated! I had massive amounts of icing left over even though I was very generous in coating the cake, because of this I halved some of the ingredients.
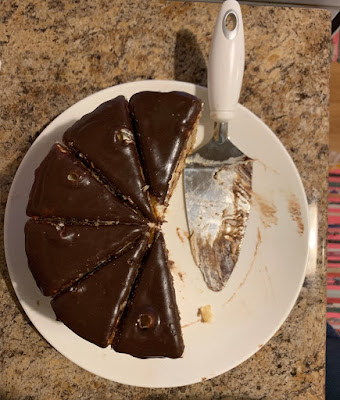
A mistake I made was using extra large eggs so the cake came out like a custard. It's like three layers of vanilla slice! I am not sure what the consistency of this cake is suppose to be but I don't think it's bready its more eggy. I think if you love vanilla slice then you will love this cake! Please let me know if you get different results.
Please note it did take me two days to make. It is time intensive. I made the cake and ganache one day and the rest of the icing then put it together the next day.
Gluten Free Chocolate Coconut Cake
Chocolate Coconut Cake600gm Gluten Free plain flour
600gm caster sugar
450ml water
2 teaspoons vanilla essence
3 tsp gluten free baking powder
2 cups McKenzie's Moist Coconut Flakes
9 free range eggs, lightly beaten
3 x 400ml cans coconut milk
1 tsp salt
Ganache filling
2 x 225 pkts milk chocolate melts
2/3 cup Zymil lactose free thickened cream
Buttercream Icing
250gm Nuttelex dairy free margarine at room temperature
500gm icing sugar
1 1/2 tbs baking cocoa
4 tablespoons thickened cream
Milk Chocolate Drip
150gm chocolate milk melts
3 tablespoons Zymil lactose free thickened cream
Method
1. Preheat oven to 170C. Grease 3 x 20cm round cake tins and line with baking paper.
2. To make chocolate coconut cake, in a very large bowl combine dry ingredients with 1 tsp salt.
3. In a massively large bowl (mine was 35cm in diameter) combine coconut milk, eggs and 450ml water. Note: I found the coconut fat was solid when I opened the cans so emptied the three cans first into the bowl then beat them with an electric mixer until smooth. Then I added other ingredients and beat them all together until combined.
4. Add dry ingredients to wet ingredients and whisk until combined.
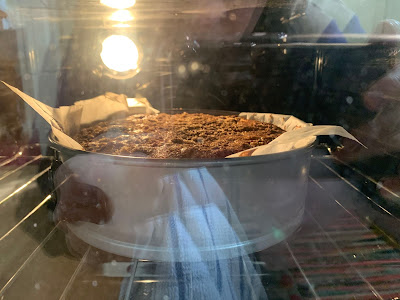
5. Divide batter between baking tins and bake for 60-90mins. I found the top two tins baked quicker than the one on the bottom shelf. The cake on bottom shelf needed an extra 15-20 minutes.Set aside to cool completely then trim tops to level cakes.
6. To make ganache filling place chocolate in a heatproof bowl. heat cream until just about to boil then pour over chocolate. Stir until chocolate is melted and refrigerate for about 20 minutes or until thick and spreadable.
7. To make buttercream icing beat margarine with a salt until pale about 3 minutes. Add icing sugar a little at a time and mix until fully incorporated. Divide mixture into three bowls add a little more to the last bowl. To make the darkest coloured icing add 1 tbspoon cocoa powder and 1 tbspn cream. To make medium coloured icing stir in 1/2 tbspoons cocoa powder and 1 tbspoon cream. For lightest coloured icing with extra mixture add two tbspoons cream and stir to combine.
8. To assemble cake sandwich layers with ganache.
9. Coat cake with some of the light coloured icing and refrigerate for 20 minutes or until set.
10. With the flat side of a butter knife coat the bottom calf of the cake with darkest buttercream. Then work your way up the cake with medium and light coloured cream until all cake is coated.
11. To make chocolate drip, place chocolate and cream in a heat poof bowl on the stove top over low heat until chocolate has melted and both ingredients have combined. Transfer mixture to a piping bag or zip lock bag with corner snipped and run around the top edge of cake creating lots of drips. Fill in top of cake with remaining chocolate sauce.


